When I saw this recipe for homemade graham crackers on the
Smitten Kitchen blog, I thought, these crackers sound amazing, I should make these.
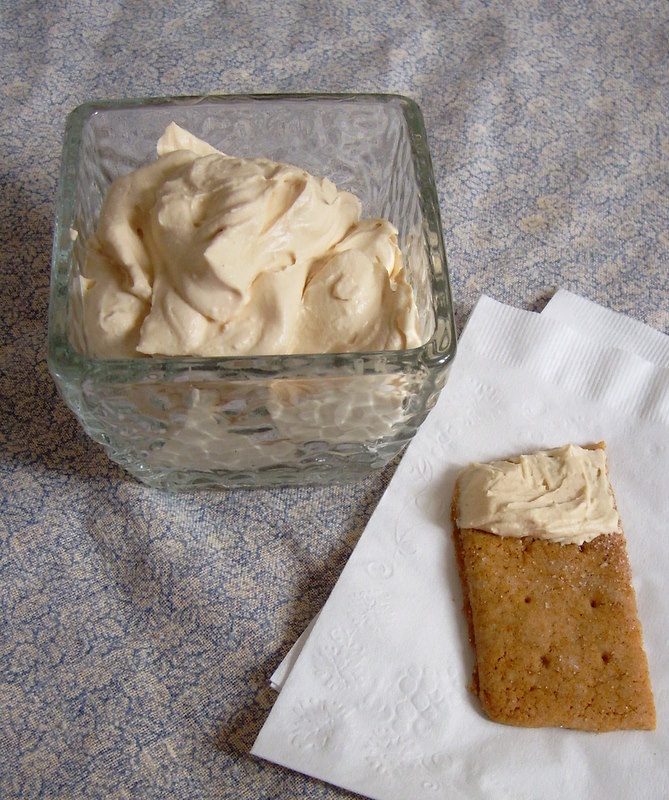
This recipe does make a fabulous graham cracker, but I did not cook them as long as they needed and they came out soft. I don't have a real oven and the toaster oven I use tends to burn things when I use the noted oven time so my time guesstimate wasn't long enough.
I have to be honest, these cookies were a pain in the butt to make, but I am impatient and think I probably made it harder than it should have been. Even so, I could totally see myself making these once a month if I had kids, just to avoid store bought ones. Then I know exactly what is in it and besides, home made always tastes better doesn't it?
I have included notes at the end of the recipe, please learn from my mistakes. It is clear to me that I am not good at following directions since I missed steps along the way. My rolling process seemed more difficult from the Smitten Kitchen one, but here is my experience.
2 cups plus 2 tablespoons unbleached all-purpose flour
1/2 cup whole wheat flour
1 cup dark brown sugar, lightly packed
1 teaspoon baking soda
3/4 teaspoon salt
7 tablespoons unsalted butter, cut into 1-inch cubes and frozen
1/3 cup clover honey
5 tablespoons milk (full-fat is best)
2 tablespoons vanilla extract
Topping
3 tablespoons granulated sugar
1 teaspoon ground cinnamon
To make the dough:
Combine the flour, brown sugar, baking soda, and salt in a large bowl with a pastry blender (a food processor can also be used but I don't have one). Next, add in the butter and continue to blend it together until it is well combined and looks similar to a coarse meal.
In another bowl, whisk together the honey, milk, and vanilla extract.
Add it to the flour mix and combine it with the pastry blender until it forms a dough. It will be sticky.
Lay out a layer of plastic wrap on a counter and dust flour over it. Plop the dough onto it and form it into a rectangle-ish shape about 1 inch thick. Wrap it completely, then chill overnight.
The next day:
Prepare the topping by mixing the sugar and cinnamon together in a small bowl and set it aside.
Unwrap your dough and cut it in half and return one half to the refrigerator. Spread out a piece of wax paper on your work space and liberally dust an even layer of flour onto it. Roll the dough into a long rectangle about 1/8 inch thick.
The dough will be really sticky and you will not be able to lift it off the wax paper.
This is where I cut shapes into the dough. It is a lot easier if you cut it into squares or rectangles, but if you use cookie cutters, press the shape in and don't touch it. Don't try to remove the excess dough, it will be a mess.
Place the wax paper onto a cookie sheet and chill until firm, somewhere around 30 to 45 minutes in the fridge or 15 to 20 minutes in the freezer.
After it is firm, then you can peel away the excess dough and carefully pull off your shapes. Dip both sides into the cinnamon mix and place on a baking sheet. Make a separate ball with the scraps, wrap in floured plastic wrap and refridgerate it. Repeat the cookie process with the second half of the dough.
After all the scraps are chilled you can repeat the process with that as well.
Heat oven to 350°F.
With the cookies on the cookie sheet, you can make the indentations with a toothpick for decoration if you want. I don't think it affects cooking, so you can leave that part out if you want.
Bake for 15 to 25 minutes, and rotate the sheets halfway through. It should look browned (it should also be firm to the touch)
Notes:
* This dough is really sticky. Add more flour if the rolling gives you trouble.
* Make sure you THOROUGHLY chill the dough, especially if you use shapes. I have no patience and I rushed it, which (I am sure) was what made it difficult for me.
* Touch the cookie to make sure it is firm (another step I missed).